9.8.2 Deploy the Web Service Project
Perform the following operations to build and deploy our Web service project:
- Click on the Clean and Build Main Project button to build our Web service.
- Right-click on our Web application WebAppFaculty and select the Deploy item to deploy our Web service. If everything is fine, a successful deployment result should be displayed, as shown in Figure 9.44.
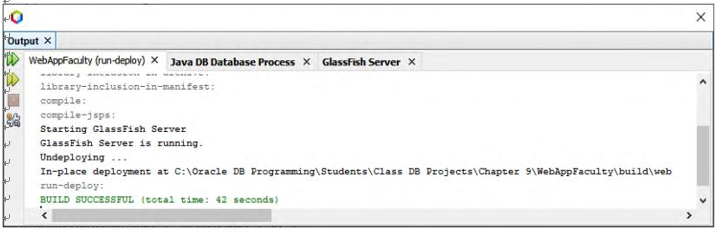
FIGURE 9.44 The deployment result of our Web service project.

A problem arises when testing this Web service project using the tester page, which is the input parameter array, fdata. As we know, fdata has a data type of ArrayList, and it needs to 1) create an ArrayList instance and then 2) assign a set of faculty information to that ArrayList object to call the Web service operation InsertFaculty() to perform the faculty data insertion. However, it is difficult to do those two operations manually by using this tester page. Therefore, we need to create a Web client project to consume and test this Web service project.
We can develop a client project to consume this Web service to perform data insertion to the Faculty Table in our sample database. First let’s discuss how to build a Window-based client project to consume our Web service.
9.9 BUILD A WINDOW-BASED CLIENT PROJECT TO CONSUME THE WEB SERVICE
We can still use the Window-based client project WinClientFaculty _ Select we built in Section 9.6 to consume the Web service to perform the faculty data insert action. One point to be noted is that although a Web reference to our Web service was established in Section 9.6, we still need to refresh this Web reference since our Web service project has been modified by adding one more operation, InsertFaculty(). Otherwise we may encounter an exception, since the origi-nal Web service that does not include the InsertFaculty() operation.
To make things clear, we can copy the project WinClientSelect, rename it as our new Windows-based client project WinClientFaculty _ Insert and use this project to consume our Web Service project to insert a new faculty record into the Faculty Table in our sample database.
Perform the following operations to rename the project:
1) Right-click on our original Windows-based client project, WinClientFaculty _ Select, and select the Copy item from the popup menu to open the Copy Project wizard.
2) Change the project name to WinClientFaculty _ Insert in the Project Name box, and click on the Copy button to complete the project copy operation.
Now you may find that our copied project contained some errors with red error indicators. The reason for that is because of our Web Service, since we need to update our Web Service Reference for the new project WinClientFaculty _ Insert.